")
The general health of any automobile depends on replacing an outdated or damaged engine mount. The issue is always how much time it will take to remedy the point. How long does it take to replace motor mounts?
Quick Response
How long does it take to replace motor mounts? A rebuilt motor mount will take you roughly 4 hours to complete. Based on how easily accessible the support is, a replacement might take anywhere from 30 minutes to four hours to accomplish.
Vehicle Mount
An element referred to as an engine mount holds the engine of your car in position. Whereas the motor is held in place by the engine mount, the gearbox is held in place by the gearbox mount. In certain vehicles, four or three bolts are frequently employed to secure the transmission and engine.
The motor mount that is fastened to the frame or the exterior of your car may be found there. Because of its multiple motions and rotating components, which produce vibrations, you might also locate the engine fixed in another area.
The purpose of such an engine mounting is to keep the engine in place while minimizing motor motion within the car. Most cars have three or four mounts holding the engine and gearbox together.
What Kinds Of Engine Mounts Are Out There?
Rigid Mount
As their title indicates, rigid clamps are immovable. Here on engine chassis, they are either soldered or screwed into position. They frequently come with smaller engines. This is due to the fact that they are susceptible to injury when exposed to frequent, intense vibrations.
Resilient Mount
The engine and the mounting are separated by an insulating layer in such mounts, which are typically made of rubber. This reduces noise and serves as a vibration suspension system. Because the insulation protects the engine, such mounts can extend the lifespan of your engine. Those mounts permit a small amount of engine movement without affecting the motor’s performance.
Hydraulic Mount
These attachments are indeed the ones with a liquid inside to dampen noise and vibrations. They could also include hydraulic fluid, which is typically found in braking, or a gel-like material resembling glycol.
Face Mount
Face screws are fastened firmly into the encircling components and the motor housing. These may be installed without using a regular mount.
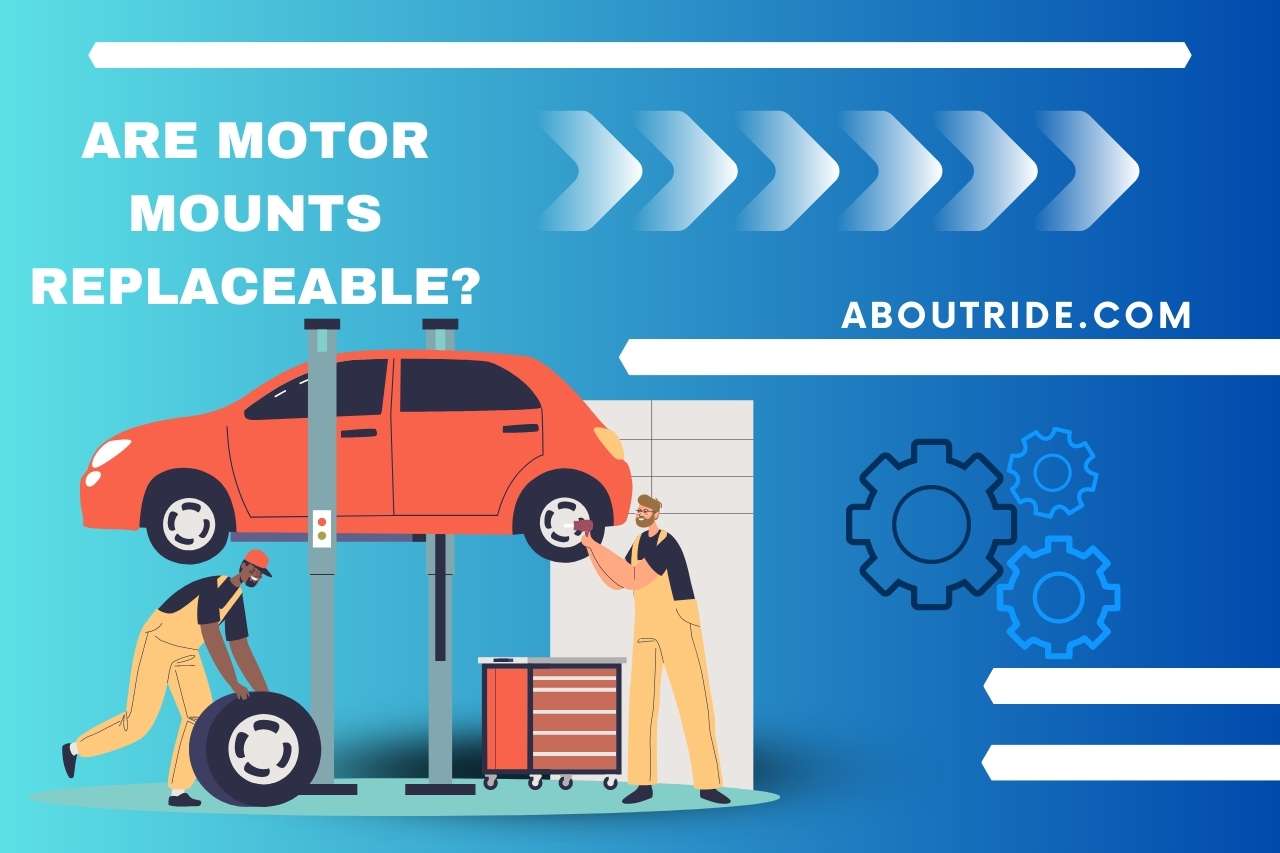
Are Motor Mounts Replaceable?
Yep, you need to get a new motor mounting. The mounting on motors can be changed. The most prevalent issue arises whenever the rubber portion of such mounts breaks or fractures or when liquid starts to leak from the liquid-filled mounting.
How Long Does It Take to Replace Motor Mounts?
According to how easily accessible the mount is, replacing a motor mount can take anywhere from one to four hours. The type of motor mount will determine how long does it take to replace motor mounts. Before beginning this project, make sure to consult your vehicle’s maintenance manual. Different protocols and detailed instructions apply to each car.
Why Would You Want to Swap Out a Motor Mount?
Over the term, an engine mount’s failure can cause substantial harm to the engine, which might lead to severe issues with your car. When you have a damaged motor mount, driving becomes extremely risky. The cause of the trembling in a moving vehicle is a bad motor mount.
It might be incredibly annoying to drive in a noisy automobile or to shift gears on your own. The classic sign of a damaged engine mount is engine power vibrations inside the car. The above is only one of the many justifications for replacing your engine mount. Consider it a routine to swap out your engine mounts as they wear out.
How Do I Know If My Motor Mounts Should Be Replaced?
You can tell when motor mounts must be replaced by recognizing these signs of damage or wear.
- More Intense Vibrations
Excessive vibrations when operating your car are among the most typical engine mounting indications. When you begin your car, you should observe that it’s producing more sound and vibrating more than usual. This is a telltale symptom of a damaged motor mount which may require replacement.
- Difficult Start
You can hear a strange lurch when a machine first turns on that will not feel and sound quite right. This is also another among the most typical signs of deteriorated engine mounts.
- A Bumpier Journey
Switching gears on a connected gearbox can frequently shock a worn-out engine mounting. Because the engine operates tougher when moving at higher speeds, the above jolt, as well as clunk, may also be audible. Broken engine mounts are frequently to blame when an engine does not really feel as simple as customary.
- Impact Sounds
Degradation of the engine mount results in noise from the engine mount. A damaged engine mounting frequently causes “clunking noises” as well as “bangs” in the area around it or inside the engine compartment. Such noise is caused by the motor spinning much more than usual and coming into touch with other parts, which might result in pretty audible contact noises.
- Visible Corrosion
The motor mount’s metallic component does undergo cosmetic modification over time. Yet, if you notice any substantial corrosion, fractures, or bends in the element, the remainder of the mount is probably wearing down too quickly.
Do I Need To Change Motor Mounts Myself?
You might be able to repair the engine mounts alone if you’ve had some experience working on automobile engines and understand a little about auto mechanics. To complete the work, you will require all essential tools as well as, at minimum, one more person.
Changing the Engine Mounts
Step 1: Prior to actually trying to elevate the motor, verify for clearances against the block.
Step 2: Use several wood blocks to anchor the engine to a jack.
Step 3: Remove the engine’s mounting bolts.
Step 4: After that, get underneath the car and remove the mounting chassis bolts.
Step 5: Your engine mounting should be removed after a small amount of engine jacking.
Step 6: Evaluate the current versus old engine mounting.
Step 7: When sliding the motor, connect the mounting to the chassis bolts.
Step 8: Raise the motor and secure every bolt completely.
Step 9: 3rd “dog-bone” engine mounts are frequently found on front-wheel drive cars.
Check Out This Video,
VIDEO CREDITS: Scotty Kilmer YouTube Channel
Discover More: Related Articles You Can’t Miss